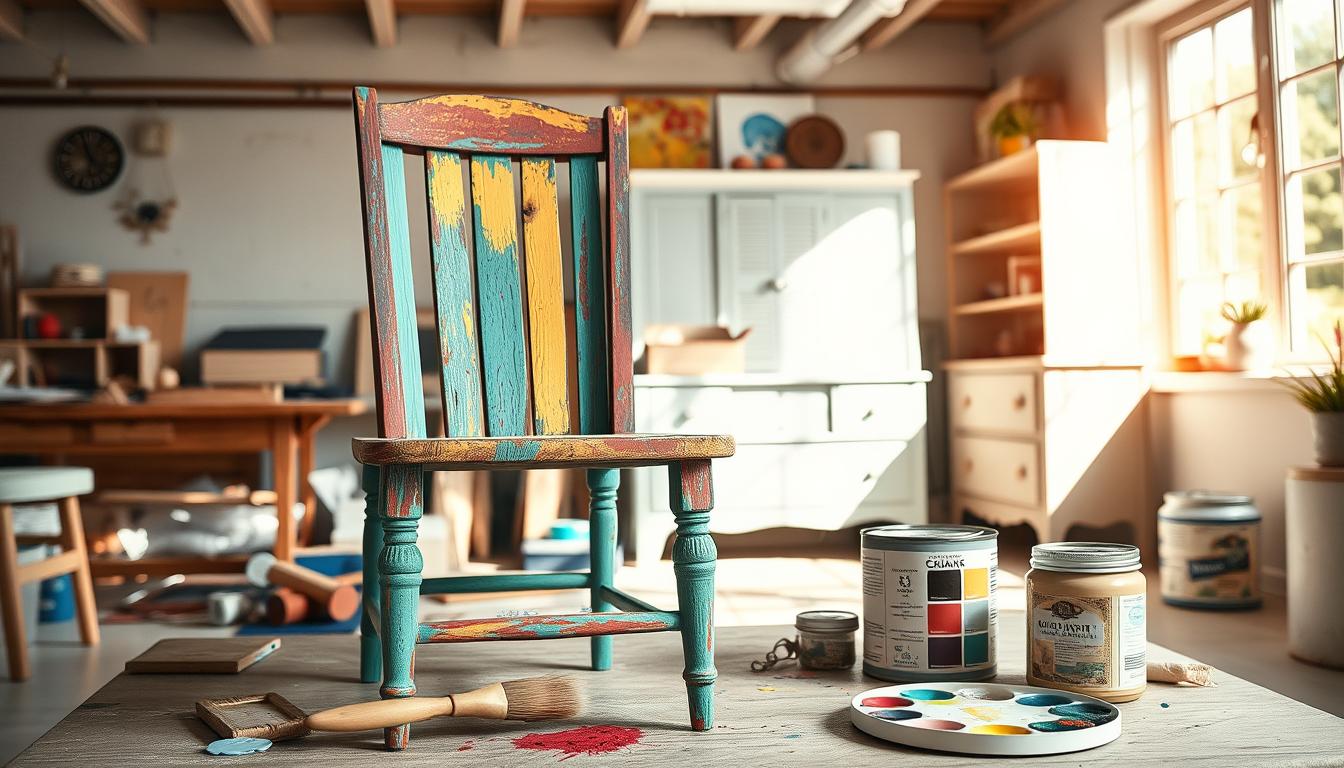
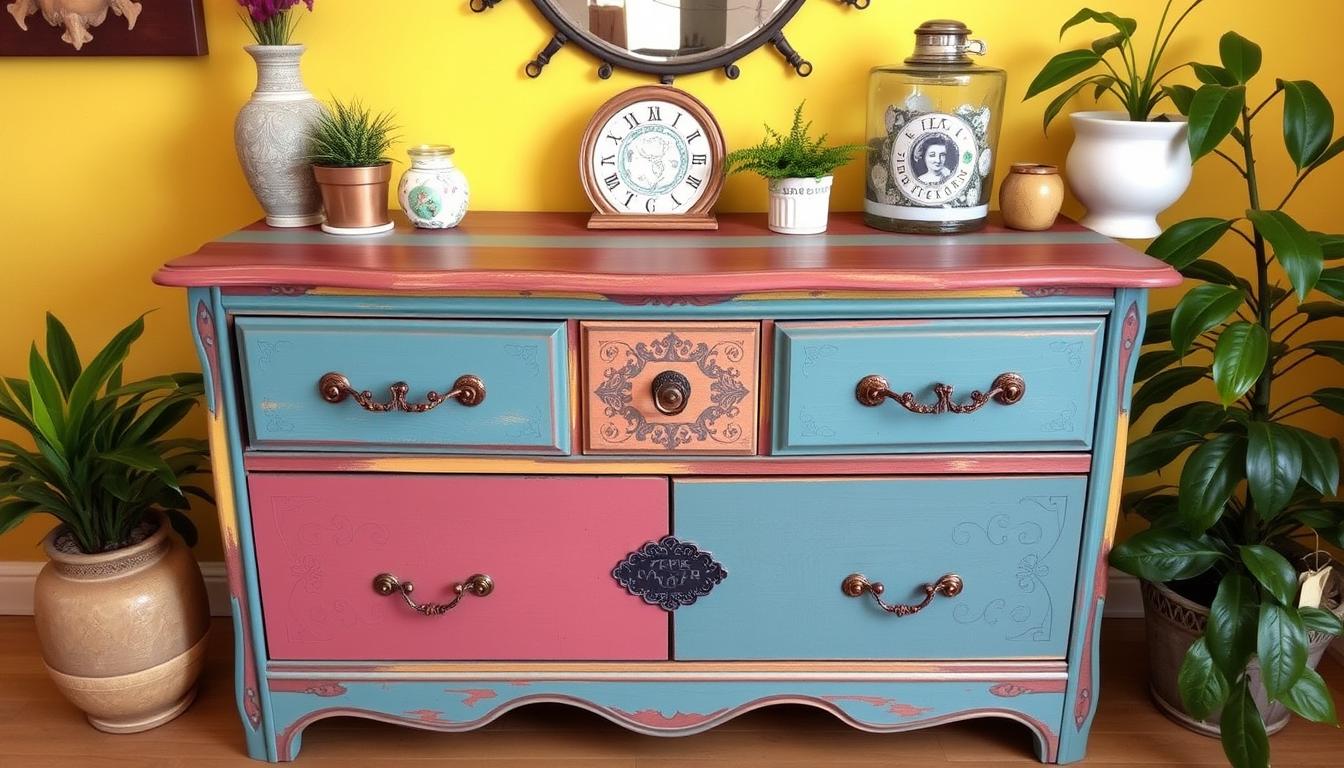
Did you know that 85% of DIYers feel more creative after upcycling furniture? Transforming thrifted finds into stunning upcycled furniture ideas isn’t just a trend – it’s a rewarding way to create one-of-a-kind decor while saving money and reducing waste. Whether a beginner or seasoned crafter, repurposed furniture lets you breathe new life into discarded pieces with simple techniques. Best of all, you can save up to 80% compared to buying new furniture, making these upcycled furniture ideas both eco-friendly and budget-savvy.
The beauty of upcycling lies in its endless possibilities. Upcycled furniture ideas cater to every skill level, from chalk-paint makeovers to complete furniture transformations. This guide will walk you through the entire process – from hunting for quality thrift store treasures to professional-grade restoration techniques. You’ll discover how to prep, paint, and personalize pieces to match your unique style, creating conversation-starting furniture that reflects your creativity while keeping items out of landfills.
Essential Tools And Materials for Upcycled Furniture Ideas
Turning old furniture into new treasures needs the right tools and a creative mind. Whether you’re new or experienced, the right tools are key for great results.
Starting your sustainable design journey means getting a good toolkit. It will boost your creativity and help you achieve professional-looking results.
Basic Tool Kit Essentials
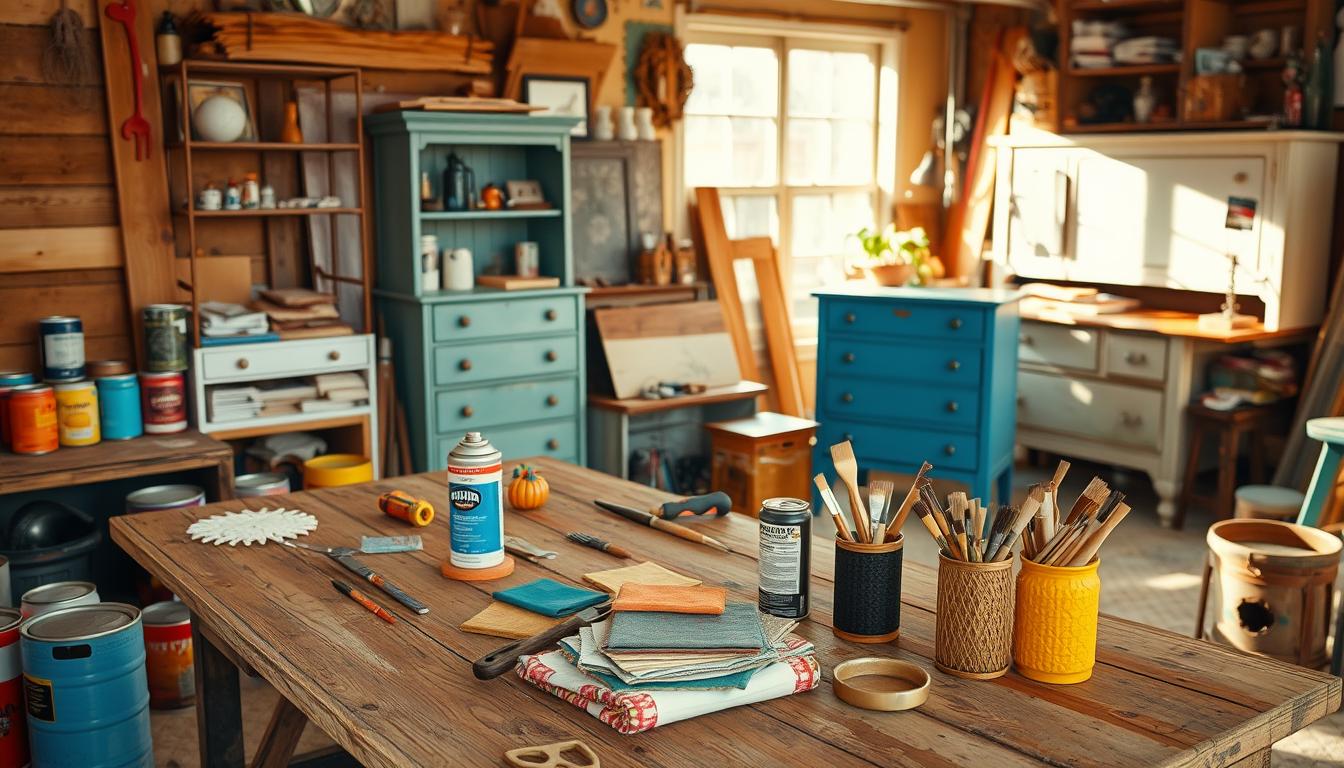
Your upcycling journey starts with basic tools:
- Dremel Multi-Tool with 4 speed settings for precision work.
- Screwdrivers (flathead and Phillips head).
- Pliers and adjustable wrench.
- Measuring tape.
- Sandpaper (various grits).
Must-Have Painting Supplies
Take your furniture makeovers to the next level with these painting essentials:
| Category | Recommended Items |
| Paints | Latex paint, chalk paint, milk paint. |
| Brushes | Foam rollers, angled brushes, foam brushes. |
| Finishes | Wax, polyurethane, clear sealant. |
Safety Equipment Checklist
Keep yourself safe during upcycling with these must-haves:
- Safety glasses.
- Dust masks.
- Work gloves.
- Respirator for paint and chemical work.
- Drop cloths.
With these tools and materials, you’re set to turn old furniture into unique, personal pieces. They will show off your style and support sustainable design.
Finding Hidden Gems: Where to Source Thrifted Furniture
Starting your journey with recycled materials furniture begins with finding the right source. Smart shopping strategies can lead you to incredible treasures at affordable prices. This is the first step in your vintage furniture makeover.
Thrifted Furniture Sourcing
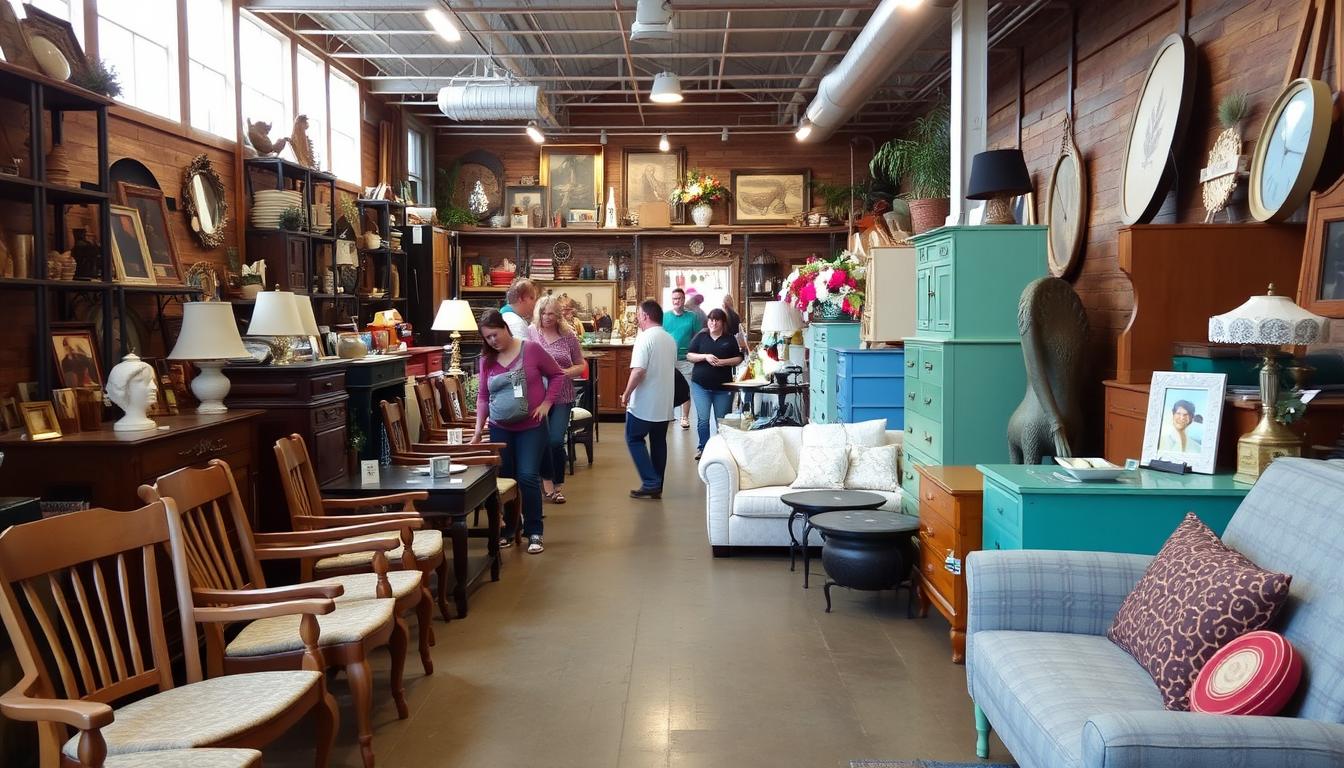
Online marketplaces have changed the game for furniture hunting. Facebook Marketplace is a top choice, with a wide range of secondhand furniture. Craigslist is also a good option, with many users finding great deals. Apps like OfferUp and LetGo offer more chances to find unique pieces.
Top Sourcing Strategies
- Visit local thrift stores every 2-3 weeks.
- Check Salvation Army and Habitat for Humanity Restore.
- Explore estate sales in established neighborhoods.
- Browse online marketplaces multiple times weekly.
Local thrift stores have a steady supply of recycled materials furniture. Thrifters suggest making multiple trips to find the best deals. Some stores even offer up to 50% off, helping you maximize your makeover.
Pro Hunting Tips
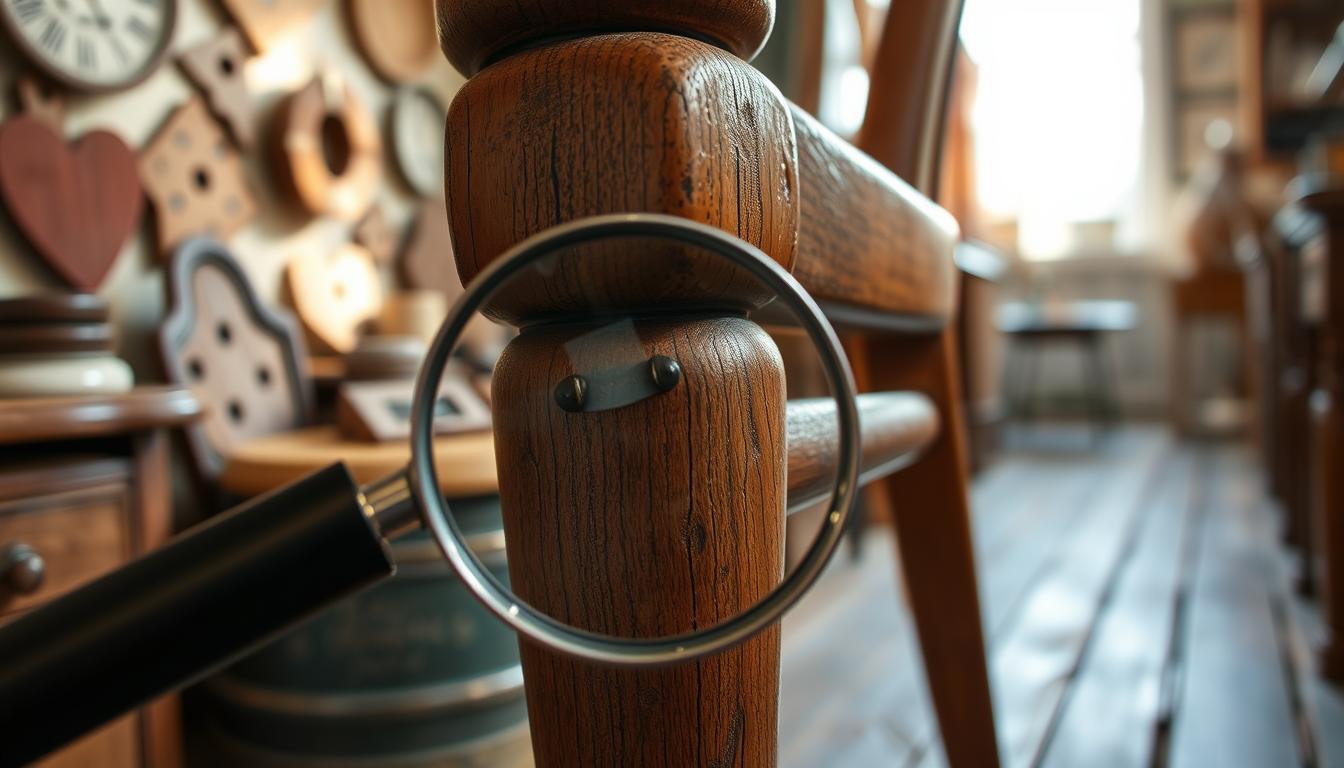
- Use the “Jiggle Test” to assess furniture quality.
- Look for solid construction techniques.
- Negotiate prices on online platforms.
- Be patient – great finds take time.
While yard sales and flea markets can be hit-or-miss, online platforms offer more reliable finds. Your persistence in exploring these sources will turn thrifting into an art of finding hidden treasures.
Assessing Furniture Quality Before Purchase
Looking for the perfect piece of reclaimed wood furniture? Knowing how to check its quality can save you time and money. It’s important to understand what makes a piece worth upcycling for stunning eco-friendly decor.
Structural Integrity Essentials
Before buying, do a detailed check. Quality furniture shows in its construction:
- Look for strong joints like dovetail and mortise-and-tenon.
- Stay away from pieces with staples, visible glue, or weak nails.
- Try lifting one corner – it should not twist or squeak.
Furniture Quality Assessment
Material Quality Evaluation
Material and quality indicators chart:
| Material | Quality Indicators |
| Wood | Solid wood or 9+ plywood layers. |
| Cushions | High-density foam (1.8 pounds or higher). |
| Upholstery | High wear factor, aligned patterns. |
Red Flags to Watch For
Some signs mean a piece might not be worth fixing:
- Extensive water damage or mold.
- Significant structural breaks.
- Irreparable veneer chipping.
- Strong, unpleasant odors.
By carefully checking furniture, you can turn your space into a beautiful, sustainable area. It will have a unique story to tell.
Preparation Techniques for Different Materials
Turning old furniture into new pieces needs careful prep work. Knowing how to handle wood, metal, and fabric is key. This knowledge helps in making your upcycling project a success.
Furniture Preparation Techniques
Wood Furniture Preparation:
- Sand surfaces using progressive grit sandpaper (80 to 120 grit).
- Remove old finishes completely.
- Clean with White Lightning Cleaner solution.
- Fill gaps using specialized wood filler like Dixie Belle Mud.
Metal Surface Treatment:
- Remove rust using wire brushes.
- Apply rust-preventing primer.
- Use eco-friendly paint removers with low VOC levels.
Upholstered Piece Restoration:
- Deep clean fabric surfaces.
- Inspect for structural integrity.
- Repair minor tears before refinishing.
Professional tip: Always apply a two-coat stain and odor blocker like Dixie Belle BOSS before painting. This ensures a smooth, lasting finish in your repurposed furniture project.
Material, preparation steps and recommended products chart:
| Material | Preparation Steps | Recommended Products |
| Solid Wood | Sanding, cleaning, filling | Fusion Mineral Paint, Wood Wax. |
| Metal | Rust removal, priming | Soy-Gel Remover, Rust-Preventing Primer. |
| Upholstery | Deep cleaning, repair | Fabric cleaner, repair kit. |
Remember, proper preparation is the foundation of successful sustainable interior design. Take your time and don’t rush the process!
Uppcycled Furniture Ideas for Every Room
Turning old furniture into beautiful decor is a creative and green way to decorate. Most thrifted furniture can be upcycled, saving you money. Today, 65% of people love unique furniture more than the common kind.
Upcycled Furniture Transformation Ideas
Upcycled furniture can make every room special. Whether it’s your living room, bedroom, or kitchen, you can find creative solutions. Let’s see how to make ordinary furniture into something amazing.
Living Room Transformations
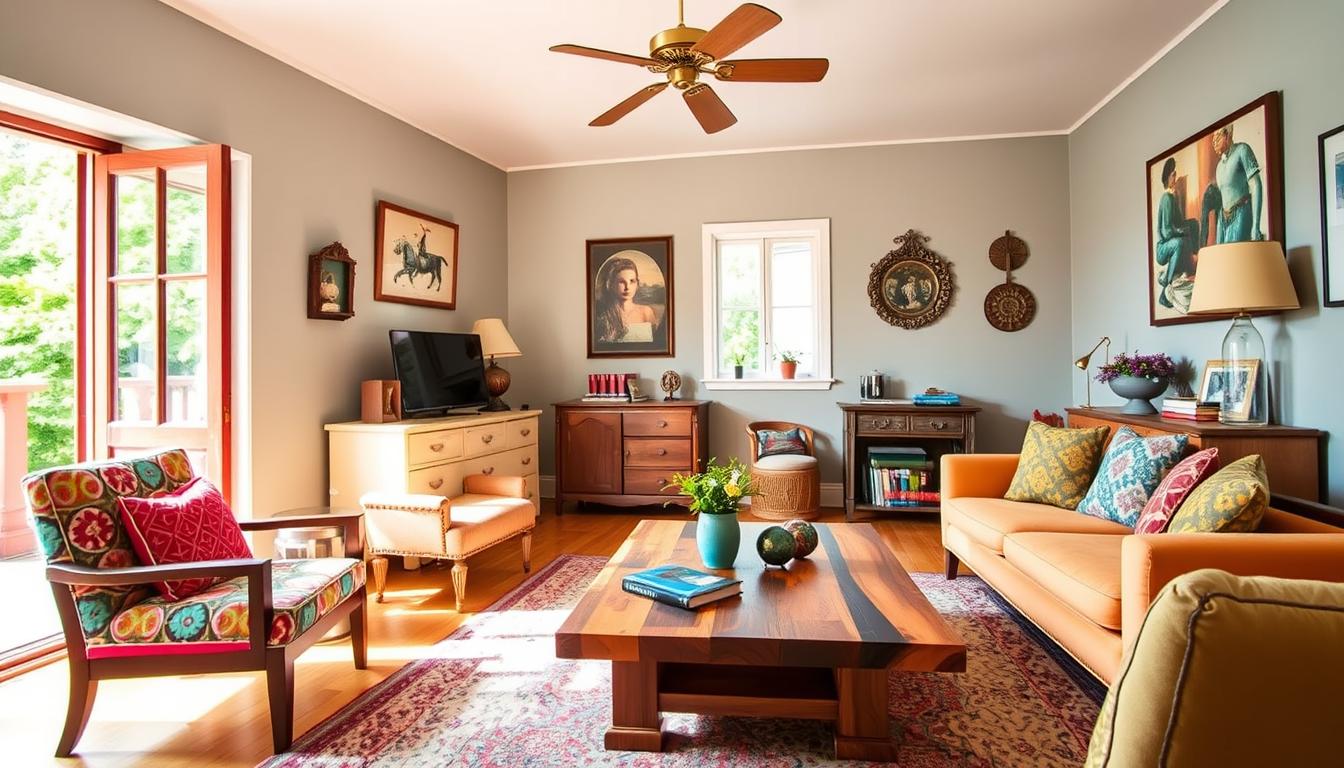
Your living room is a great place to show off upcycled decor.
Here are some ideas:
- Turn an old dresser into a cool media console.
- Use vintage chairs as eye-catching pieces.
- Make a unique coffee table from wooden pallets.
Bedroom Furniture Makeovers
Upcycling in the bedroom can make it magical without spending a lot.
Try these ideas:
- Make headboards from old doors or windows.
- Give nightstands a fresh look with bold paint.
- Update dressers with new hardware.
Kitchen and Dining Solutions
Kitchens are perfect for upcycled furniture.
Here are some cool ideas:
- Use ladder shelves for kitchen storage.
- Turn vintage stools into cute dining chairs.
- Make a kitchen island from old cabinets.
Room, upcycling potential and average cost savings chart:
| Room | Upcycling Potential | Average Cost Savings |
| Living Room | High | 40-50% |
| Bedroom | Medium | 30-40% |
| Kitchen | Very High | 50-60% |
Upcycling is more than a trend; it’s a green way to decorate that saves money. Upcycling projects cost about $150, much less than buying new furniture. So, you can make your space unique without spending a lot.
Painting and Finishing Methods for Best Results
Starting diy furniture projects can be exciting. Learning to paint and finish well can make your vintage furniture look amazing. The right techniques can give old pieces a new life, making them look like they were made yesterday. Choosing the right paint and finish is key.
Furniture Painting Techniques
Here are some steps to get professional-looking results:
- Clean and prepare the surface thoroughly.
- Sand furniture to remove glossy finishes.
- Apply 2-3 paint coats for optimal coverage.
- Use fine-grit sandpaper between paint layers.
Choosing the right paint is important for your makeover.
Each type of paint has its own benefits:
| Paint Type | Best For | Application Tips |
| Chalk Paint | Vintage looks | Requires minimal prep, great for distressing. |
| Milk Paint | Rustic finishes | Creates natural, chip-resistant coating. |
| Latex Paint | Modern styles | Use semi-gloss for easy cleaning. |
For a top-notch finish, follow these expert tips:
- Allow 24 hours drying time between coats.
- Use furniture wax for protection.
- Buff wax after 10-15 minutes of application.
- Let the final piece cure for up to 30 days.
Pro Tip: Invest in quality brushes and take your time with each layer for stunning results in your diy furniture projects.
Creative Ways to Add Personal Touches
Turning thrifted furniture into unique decor is all about your style. Creative hacks can make an ordinary piece stand out. It shows your personality and creativity.
Upcycled Furniture Personalization
Your makeover journey goes beyond painting or refinishing. The real magic comes from adding special touches. These make the piece truly yours.
Hardware Updates
Changing the hardware can totally change a piece’s look.
Here are some creative hacks:
- Replace old knobs with vintage glass or metallic ones.
- Mix hardware for a unique look.
- Spray paint existing hardware for a cheap update.
Decorative Elements
Enhance your decor with unique techniques:
- Use decoupage for interesting patterns or images.
- Apply stencils for custom designs.
- Add decorative trims or moldings for texture.
Custom Features
Get creative with functional and personalized additions:
- Build hidden compartments for secret storage.
- Add casters for easy moving.
- Create fold-out surfaces for extra functionality.
The goal is to make a piece that tells your story. With imagination, any thrifted furniture can become a treasured, unique piece.
Common Mistakes to Avoid in Furniture Upcycling
Starting your first diy furniture project is thrilling. But, success in repurposed furniture depends on avoiding key mistakes. Many beginners face setbacks in their first tries, ruining their creative plans.
Experts say 80% of furniture upcycling failures come from not preparing well enough. Knowing these common errors can save you a lot of trouble, including time, money, and frustration.
- Skipping surface cleaning before painting.
- Using incorrect paint types for different materials.
- Overlooking necessary primer applications.
- Rushing through the preparation process.
Choosing the right tools is vital for your project’s success. Studies show that 75% of new upcyclers don’t realize how important good tools are. Using quality tools can cut down your project time by up to 30%.
Mistake, potential consequence and solution chart:
| Mistake | Potential Consequence | Solution |
| Improper fabric choice | Project failure in 65% of cases | Research material durability. |
| Wrong paint selection | Project failure in 70% of attempts | Match paint to furniture material. |
| Inadequate preparation | High risk of poor finish | Clean, sand, and prime surfaces. |
Making mistakes is all part of learning. Each error brings you closer to becoming a pro at furniture upcycling. Being patient and persistent is key to turning old pieces into beautiful home decor.
Sustainable Practices in Furniture Restoration
Turning old furniture into new pieces is more than just making things look good. It’s a way to help the environment. Every upcycling project you do can cut down on waste and fight against the 9.3 million tons of furniture thrown away each year in the U.S.
Choosing eco-friendly decor means making choices that save resources and cut down on waste. Your journey in furniture restoration can be both fun and good for the planet.
Eco-Friendly Materials for Restoration
When picking materials for your projects, think about these green options:
- Low VOC paints that reduce indoor air pollution.
- Reclaimed wood from local sources.
- Natural vegetable-based stains.
- Recycled hardware and decorative elements.
Waste Reduction Strategies
Here are some tips to reduce waste:
- Salvage usable parts from damaged furniture.
- Donate unusable pieces to local recycling centers.
- Repurpose fabric scraps for small decorative projects.
- Use leftover paint for touch-ups or smaller items.
By choosing sustainable design, you’re not just making furniture. You’re also saving up to 300 pounds of waste from landfills with each project.
Your dedication to eco-friendly decor can really make a difference. With about 70% of consumers ready to spend more on sustainable items, your efforts join a bigger movement for the environment.
Budget-Friendly Transformation Techniques
Upcycling furniture doesn’t have to be expensive. You can turn thrifted pieces into beautiful decor without spending a lot. Using recycled materials is a fun way to update your home without breaking the bank.
Here are some cost-effective uppcycled furniture ideas to get you started:
- Shop secondhand stores and garage sales for affordable base pieces.
- Use sample paint pots for smaller projects to reduce expenses.
- Repurpose household items as decorative elements.
- Look for free materials on community platforms.
Consider these budget-saving techniques:
- Paint transformation – A $17.95 can of Frenchic paint can completely revive an old piece.
- Use stencils (around £12.95) to add custom designs.
- Swap out hardware for an instant refresh.
Real-world savings show the power of upcycling. A 1960s Bennington bookcase bought for $50 or a tufted bench found at a garage sale for $15 are great examples. With a little creativity and effort, you can save hundreds compared to buying new furniture.
Pro tip: Use leftover materials from previous projects to save even more. Medium-density fiberboard and simple fasteners like binder clips can help you make custom pieces without spending a lot.
Advanced Upcycling Skills to Master
To take your vintage furniture makeover to the next level, you need to be dedicated and keep practicing. As you get better at restoring reclaimed wood furniture, you’ll find new techniques. These techniques will turn simple pieces into amazing works of art.
Reupholstery Fundamentals
Reupholstering furniture gives old pieces a new life. It’s more than just putting new fabric on top.
You’ll learn important skills like:
- Carefully removing the old fabric.
- Checking the padding and structure.
- Choosing strong upholstery materials.
- Using precise cutting and stapling.
Wood Repair Mastery
Fixing wooden furniture takes patience and special skills. Your aim is to make damaged pieces look stunning.
Damage type, repair technique and difficulty level chart:
| Damage Type | Repair Technique | Difficulty Level |
| Surface Scratches | Wood filler and sanding | Beginner. |
| Deep Gouges | Epoxy wood repair | Intermediate. |
| Structural Damage | Wood splicing and reinforcement | Advanced. |
With more practice, you’ll learn to save furniture from the landfill. You’ll create one-of-a-kind pieces that show off your creativity and skill.
Conclusion
Upcycling furniture is more than a trend. It’s a way to make your home stylish and eco-friendly. With 70% of DIY fans doing it, you’re part of a creative and green movement. You can give old furniture a new life, saving up to 30% on new pieces.
Upcycling is easy to start. Even beginners can do about 50% of projects with basic tools. Each piece you make has a special meaning, with over 65% of creators feeling close to their work. Upcycling not only makes your home look great but also helps the planet.
Every piece you upcycle has a story. You can turn thrift store finds or family treasures into something amazing. The demand for upcycled furniture is growing at 7% a year. It shows upcycling is more than a hobby; it’s a way to make your home unique and eco-friendly.
Now it’s time for your next project. Get your tools ready and let your creativity shine. Upcycling is waiting for your unique touch.
Frequently Ask Questions (FAQ)
What is furniture upcycling?
Furniture upcycling is making old furniture new again. You can refinish, repaint, or repurpose it. It’s a green way to give old furniture a new life.
Do I need special skills to start upcycling furniture?
No special skills are needed. Beginners can start with simple projects. You just need creativity, basic tools, and a willingness to learn.
What tools do I need to get started with furniture upcycling?
You’ll need a sander, screwdrivers, pliers, paintbrushes, and sandpaper. Don’t forget gloves and safety glasses. You can add more tools as you get better.
Where can I find furniture to upcycle?
Look for furniture at thrift stores, yard sales, and online. You can also find it at estate sales, flea markets, or in your own home. Choose pieces that can be transformed.
How much does furniture upcycling cost?
Upcycling can be very affordable. Many projects cost less than . Use thrifted furniture and materials like chalk paint to save money.
What are the most common mistakes in furniture upcycling?
Mistakes include not preparing properly and using the wrong paint. Always research and prepare before starting.
Is upcycling furniture environmentally friendly?
Yes, it’s very eco-friendly. Upcycling reduces waste and gives old furniture a new life. It’s a sustainable way to reuse furniture.
Can I make money from furniture upcycling?
Many people make money from upcycling. Sell your pieces online or in local shops. As you get better, you can make unique items that attract buyers.
What types of furniture are best for upcycling?
Solid wood and vintage furniture are great for upcycling. Look for items with good structure. Avoid damaged pieces that can’t be fixed.
How long does a typical furniture upcycling project take?
Time varies by project. Simple jobs might take a weekend, while complex ones can take weeks. Preparation and drying time affect the total time.

